Are you studying Art Textiles A Level at Alton Campus in September? If so, you’re in the right place!
We have put together the following ‘Getting Ahead’ work to help prep you for your course over the summer.
Tag your summer work using #iamcreativeathsdcalton
We look forward to you starting with us soon!

The Art Textiles A Level at HSDC Alton is all about allowing you to develop your CREATIVE skills in your own UNIQUE and INDIVIDUAL way.
I don’t want to constrain you to work to a ‘house style’. That can come later when you are employed in the fashion or textiles business.
This course is about encouraging you to find your own style and way of working, which is why when you bring your summer project to College everyone will have their own individual responses to this project.
Because you are all INDIVIDUALS you will have different interests you want to focus on during your Art Textiles A Level, so I’ve given you a choice of tasks for your summer preparation work.
Please complete AT LEAST TWO of the activities, but if you want to expand your knowledge further then do more.
In many ways, we are really fortunate right now as there has never been so much free access to online CREATIVE RESOURCES.
I will talk about different techniques in the tasks to make life easier:
This one mixes up fashion and illustration.
Collage is a great way to produce fun, lively illustrations, especially if you aren’t feeling confident about your drawing skills. Take a look at the YouTube video below and see how exciting your work can be using collage.
The really interesting thing here is that if you watch it to the end you’ll see how he doesn’t just stop once he’s produced his collages.
He uses a light box (a window on a sunny day and thin printer paper or greaseproof paper does the same thing) to trace out his collage illustrations and then paints into them. If you haven’t got paints leave them as pencil or fine-liner drawings or use felt pens or coloured crayons.
I LOVE GETTING TWO PIECES OF WORK FROM ONE.
This video uses the really useful textile technique of applique.
I want you to produce a face from pieces of fabric and any other interesting bits and bobs you might have at home.
Take a look at the examples below for inspiration.
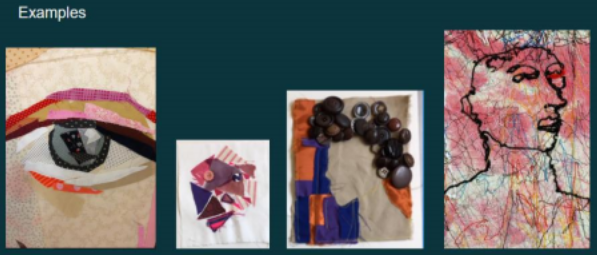
Find yourself some pictures of faces for inspiration. You will also need a piece of fabric ideally between A5 and A4 size which will be your base fabric.
You need to draw or trace a simple face onto your fabric and then the fun begins. Start cutting pieces of other fabrics, or if you haven’t got enough fabric you could use some old magazine pages too. You can trace the shapes you want to cut out or just use random shapes to create an interesting face. Then get creative sewing (hand or machine) the pieces down or glue them if you don’t sew. Once you’ve done that, add as much detail as you want. This could be drawing on top with a pen, sewing details, adding bits of ribbon, lace, buttons, beads, etc. Whatever you have to hand that will embellish your appliqued face.
This one is about designing.
I want you to produce two mood boards.
Mood boards are used by designers to give them inspiration at any time during a project and are traditionally a thin sheet of card or paper with a collection of visual imagery. Some boards may include text, usually as headings or brief notes, but the fonts you use could be inspirational in themselves.
Use something like the back of an old cereal packet as your board to save money.
The boards should each have a theme and will identify what you like and what interests you have. You need to select from the following ideas for your themes:
Themes to select from:
Make sure you incorporate your title into your board.
Look at examples of mood boards online and you will see that some are organised, some jumbled, some have no background space and some show lots of background. The choice of presentation is yours.
You can produce them in either of these ways:
Examples

You can check out:
This one is about upcycling.
Research a film, stage show or book which you love. Try to visualise how it makes you feel, what colours you associate with it, what period is it set in and anything else which springs to mind when watching or reading it. You can produce your research as a list of thoughts, mind map or mood board.
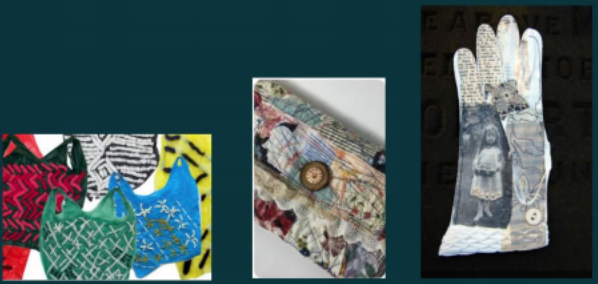
Now find a small accessory to upcycle. This can be a scarf, glove, hat, shoe, simple bag or even an old plastic bag. Make sure it is nothing precious, rather something which would be thrown away or needs repairing.
Now take your research and using any other materials and bits and bobs you have to hand embellish your accessory so you create a ‘new’ accessory or decorative piece of art which is inspired by your research.
Let your imagination go wild.
Examples
Indulging in any of these activities will increase your knowledge and help you think about how to appreciate art and design. They will improve your research skills, ideas, technical knowledge and design.
WATCH
COMPETITIONS, LECTURES AND ONLINE CLASSES
VIRTUAL VISITS or visit the real museum
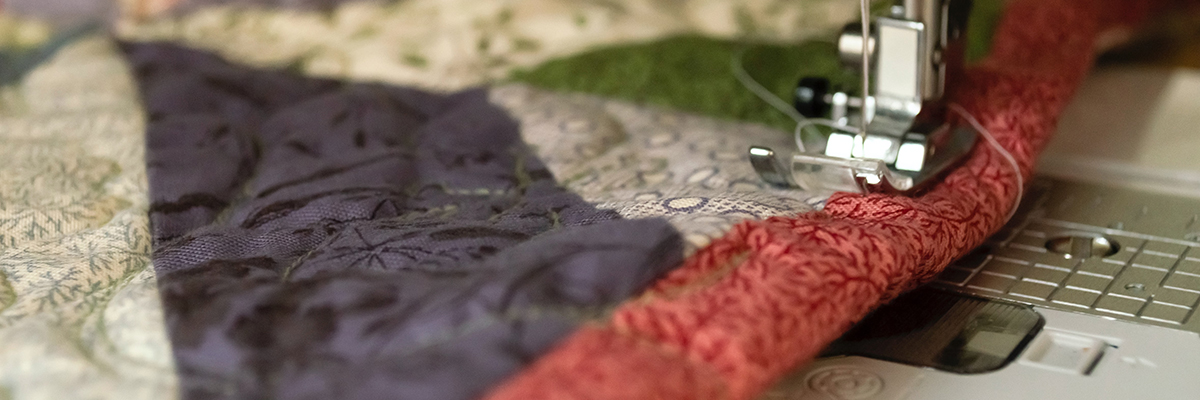
Liz has spent many years at Alton College, teaching A level Art and Textiles, previously working at Godalming College. She has specialised in A Level study for her whole career and now work for AQA as an examiner in addition to teaching commitments.